Software Review
Plugin for our most beautiful vocal recordings
At the end of last year, Karanyi Sounds released a piece of software which, according to the developer, should be able to revolutionize the mixing of song recordings, and this with the help of AI. It is clear that a buzzword like AI makes us both a little extra curious and also a little suspicious.
Artificial Intelligence
Many people wonder why so much is written about artificial intelligence, and so little about the more natural form of intelligence, you know, the one that borders on the concept of good common sense. It is predicted that the artificial variant is the one that will be able to save the world – or destroy it, depending on who you talk to – and in the context of music technology there are many areas where AI could perhaps be of great use.
However, to be able to compose something with somewhat greater quality than pure elevator music, I think something more is required: human creativity, imagination, inspiration. We leave all that to the human brain, or maybe the heart, but when it comes to the more everyday number crunching where you process a large amount of data in as short a time as possible – what you used to think supercomputers were needed for – there AI can definitely find its place, and also maybe manage it quite well.
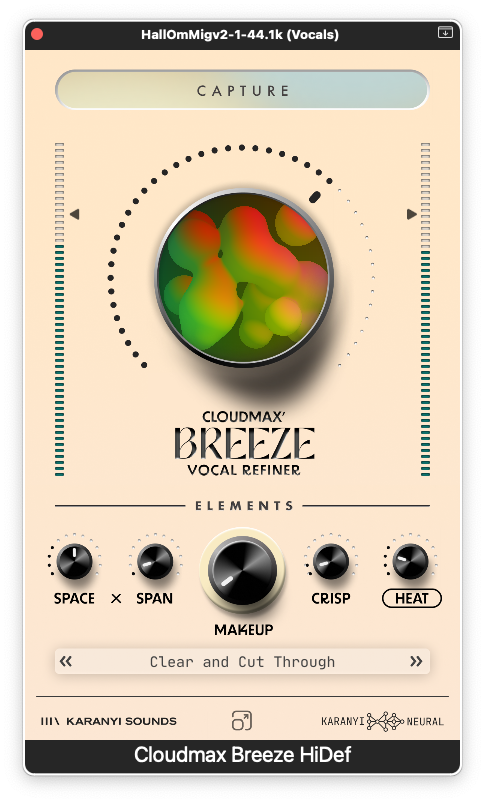
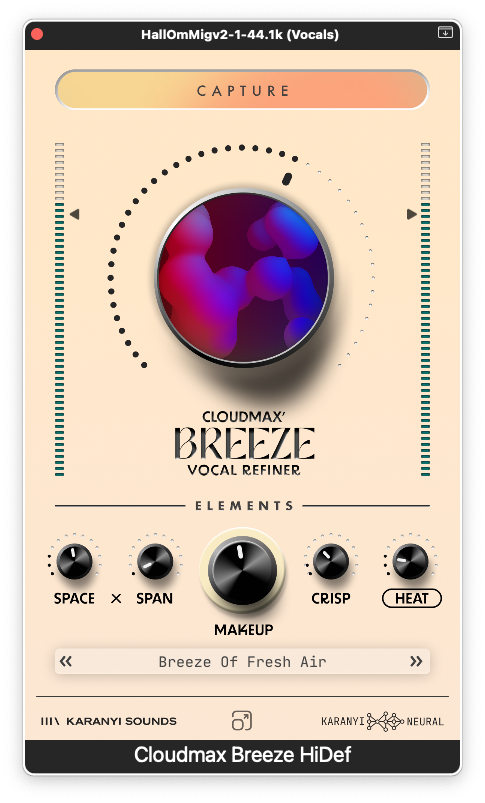
Cloudmax Breeze
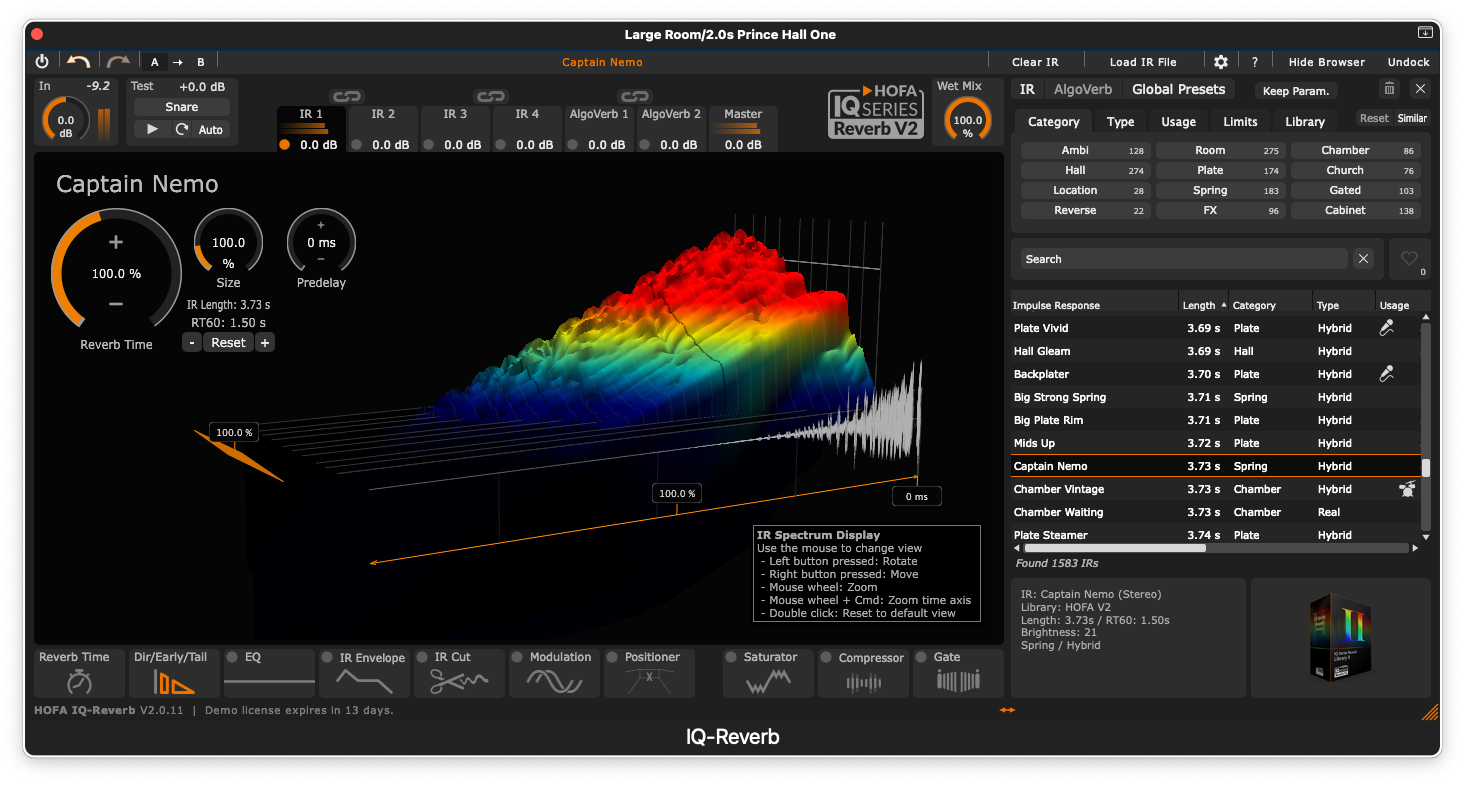
That’s where Cloudmax Breeze from Karanyi Sounds comes in. With just a few controls – and with the help of AI – you can create a really professional vocal sound in a snap. Instead of needing separate plugins for EQ, reverb, compression and saturation when it’s time to mix your vocal tracks, Cloudmax Breeze has combined all of this into one and the same easy-to-use plugin. Yes, it has been done before, but without AI involvement and perhaps not very often with such good results.
As far as the AI bit is concerned, you find it primarily in the function that the developers named Capture. With the help of this function, Cloudmax Breeze collects a lot of information about your vocal track and analyzes it in terms of characteristics such as mood, style and tempo. And this only takes a few seconds.
Cloudmax Breeze then presents a suggestion for settings for reverb and other effects that it thinks should be suitable for your particular vocal track. Something that the developers call the Karanyi Neural System listens to several different characteristics of your vocal track. It looks at how rhythmic and transient-rich the song is. It also checks the frequency content; both where it is most emphasized and how wide the frequency range is. It then sets parameters such as the reverb’s size, damping, as well as diffusion so that it fits optimally to your vocal track.
An orange light shows that something exciting is happening.
Knobs and faders
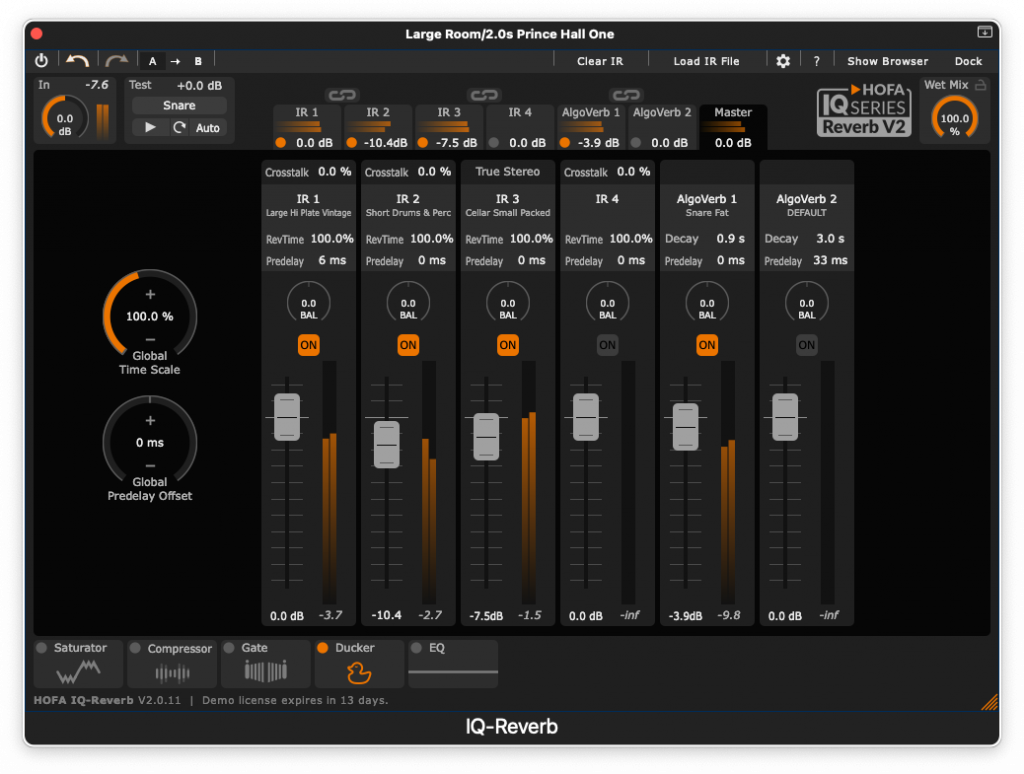
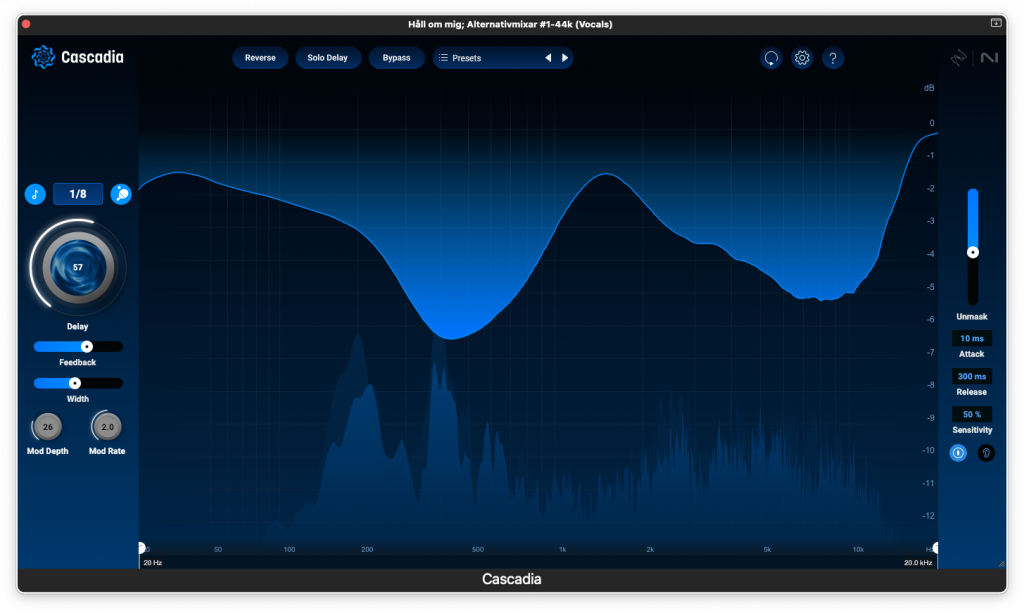
Once the AI algorithms have done their thing, you still have a number of parametersyou could fine-tune the effects with. A large knob, Breeze Control, gives you the overall editing options – there you adjust the total amount of effect – but you also have a set of smaller knobs for fine-tuning.
For the reverb you have Space, which controls the total amount of reverb, plus Span to change the feedback of the reverb tail.
The Makeup knob combines a certain amount of compression while at the same time compensating for changes in the sound level. Crisp controls the amount of treble content and there you can increase the clarity of the vocals, but you can also add a certain airiness to vocal tracks that can otherwise feel a bit wooly.
The next knob, Heat, also uses the developers’ own Neural System. This time it’s adding so-called vintage warmth, or as we used to say, distortion, in different forms and amounts. Heat can provide both a certain warmth, but also distortion that mimics the one we get from tube-powered machines such as mic preamps, or the tape saturation we got from our beloved tape machines. This function also has an on/off function if you prefer the sound as it is.
You can also adjust both input and output signals with sliders on the left and right edges of the app window.
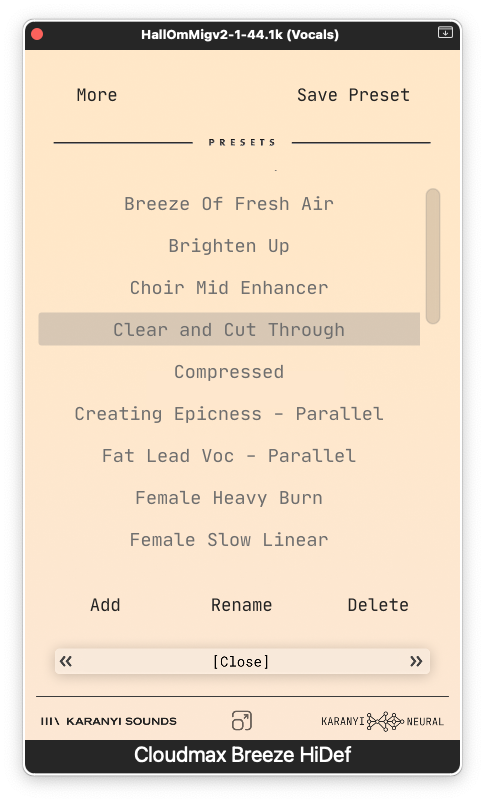
There are also a bunch of presets that you can use as a starting point, and you can also scale the interface up to 150 percent if you think the app is too small för a high-resolution screen.
The various effects
The four effects units included in the Cloudmax Breeze may not be that remarkable in themselves. It is more the combination of them and the ability to quickly dial in a really professional vocal sound that is the Cloudmax Breeze’s biggest advantage. With the reverb included, you can create the illusion of everything from small intimate rooms to really large halls, or even hangar buildings if that’s what you’re looking for.
Crisp works great if you need to sharpen a vocal track that feels a bit bland. And the ability to add some warmth with Heat partly takes care of the other end of the frequency spectrum.
Makeup is something of an all-encompassing compressor section that works really well on most vocals. Sure, you don’t have the option to fine-tune attack and release down to the smallest decibel level, but if that’s what you’re looking for, you should probably choose a different plug-in from the start. Cloudmax Breeze is for those who want to quickly be able to create a usable vocal sound, and it actually does this beyond expectations.
Who could benefit from Cloudmax Breeze, you might wonder?
The developers claim that it is perfect for all types of vocals, and they mention as examples the professional studio that quickly needs to find good vocal sounds for several different vocalists, or beat-makers and singer-songwriters where you also need to quickly and smoothly create a nice vocal sound for, for example, a demo recording.
I tested the plug-in on various clean vocal tracks where I had previously tried to get a nice vocal sound, and I must admit that it worked really well with the suggestions I got from Cloudmax Breezer’s Capture function – if anything, I perhaps felt that it was a little too generous with the reverb in some cases, but this was very easily fixed. Furthermore, I also tested some tracks where I hade unmixed the vocals using Logic Pro’s Stem Separation function from a previously downmixed stereo audio file. These tracks contained some artifacts and oddities from the start, but I found that Cloudmax Breeze did a really good job of smoothing them out. The end result was clearly better than I had expected, especailly considering the source material.
Conclusion
If we were to try to sum this up with a few well-chosen words, the first two would be fast and easy to work with. Then we actually have to add the fact that the end result sounds really good, especially if you think about the areas of use that the developer has indicated. I really love plugins that are primarily intended to make things easier for the user. In my case, the user was a songwriter who wanted to quickly get a nice and usable vocal sound without having to tinker with a lot of different plugin effects, and in exactly such a situation, Cloudmax Breeze works perfectly. Price-wise, it is also very good for my type of user. Right now, just under 50 dollars feels undeniably very affordable.
System Requirements
- Windows 8 or higher is recommended
- At least 4 GB of RAM, 8 GB is recommended
- 2 GHz CPU with at least 4 cores
- A VST3/AU/AAX compatible 64 bit host (DAW)
- 200 MB free disk space
Available Formats
- Mac OS: AU, VST3 (64-bit)
- Windows: VST3, AAX (64-bit)
- Runs in any major VST/AU/AAX compatible DAW except: Maschine which is NOT supported.
- Tested stable versions: Ableton Live 11.3.4, Logic Pro 10.7.4, Reaper 6.8
Link:
Developer Karanyi Sounds
Info www.karanyisounds.com
Price 73:75 dollar; just nu 48:75 dollar